

Learn to make beautiful flower pots
Every house there is at least a couple of home colors, if you're not an amateur florist, which blows away dust particles from their plants, then most likely your pots live a quiet and measured life on a window sill.
Not how remarkable they are rarely appropriate decorations home decor, because the pick up in selling something interesting and unusual is quite difficult and inappropriate style of a particular room, they have to shoot for pretty curtains.
It turns out that if you put a little effort and play with your imagination, you can achieve considerable success, and ordinary clay pots to turn into a work of art that will be for you a real source of pride and admiration for others!

For those interested in how to make their own hands flower pots, we picked up a list of the most interesting and original versions, which can be useful for all occasions.
The most convenient starting material, which enables you to create a variety of masterpieces, are ordinary clay pots without any pre-treatment, patterns and decorations. They are inexpensive, and the flowers they feel well.
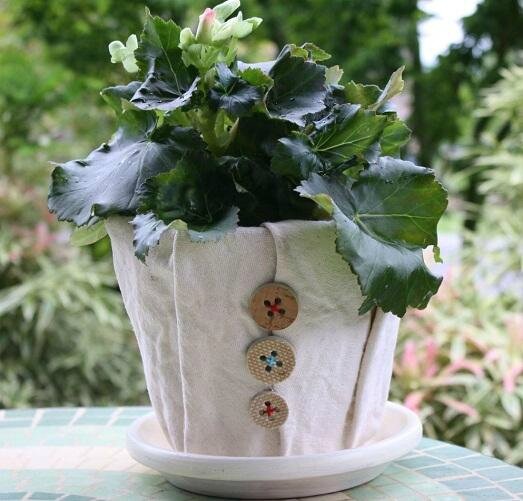
Plastic pots - also a very good starting material for decorating, but it is worth noting that the plastic does not have sufficient porosity and, therefore, bad passes to the root system needed air.
In order to create a small and unusual Pot miracle, you can use almost all known to you, the art hand-made, from the usual painting with acrylic paints, finishing knitting and Crackle.
Decorate mosaic flower pots

In fact, it's probably one of the most simple and accessible method that allows you to use any available materials, and the result is a highly original and, at times, highly home decor items.
To create a mosaic or any other pattern, most often used colored glass, stones, medium-sized pebbles, pieces of shells or residues from ceramic tiles, broken pottery, shells or seeds. In fact, you can use anything, but directly mosaic can get only from smooth and flat materials.
On a clay pot pattern will be pasted with hot glue, the pieces must be pre-folded into the alleged pattern on a table or any other flat surface.
To get a really interesting puzzle and bright, it uses 3-4 colors, otherwise it is difficult to pick up some interesting pattern. First glue a clay pot drawing itself, and already only then undertake the execution of the background.

After the stones thoroughly stuck, all you need to lubricate the special grout cracks, prepare it simply, you need to mix the glue PVA with cement, gradually add small amount of water to result in a creamy mixture. Then carefully fill in all the gaps and cracks with a mixture prepared for these purposes it is better to use a small brush.
Once the solution dries, damp sponge or cloth to remove excess start from the surface of the mosaics and other decorative elements. If some of the decorative elements fall off, do not worry, they can be glued into place, about a day later, when the grout is completely dry.
If after 24 hours floating strongly usohnet, the beauty can be applied to another layer, and then will have to wait one day. When everything is dry thoroughly, will only cover the creation of varnish so that it shone and shimmered.
This technique is often used for decoration of the pots in a nautical theme, because this theme is very popular, it is easy to maintain and build simple and readily available materials. You are gathering dust on the shelves of shells, which you have been brought to the marine leisure?
So let them in business! Marine design looks especially harmoniously in the large pots, floor and pendant, such creations do not want to hide in the farthest corners of the room, because they will be relevant and harmonious addition to your decor. We spread of shells and pebbles pattern, glue them as its own, as in the case of mosaics (the more glue, the better).
Instead of cement grout is possible to resort to another method: the gap between the shells and pebbles to smear glue, and then, holding the pot tilted, sprinkle with sea or river sand, that he settled on, blurry glue sites.
Once the glue dries, will cover the entire surface with varnish finished pot that it will add strength and shine. Aside from shells and tiles, you can use any other available materials: pieces of birch bark, pine cones, twigs, beads and glass beads.

All decorated according to the above principle, but, depending on the chosen elements of the decor, to the most diverse and unusual results.
Decoration of pots using the technique of decoupage
Notorious technique that allows to decorate and give a second life to many household items and home furnishings, is able to help you out this time. For its performance you again, you will need a clay pot, napkins for decoupage with liked drawing, brush, scissors, glue for decoupage.
If you want to pot bought another color, it can be covered by a pre-acrylic paint suitable shade. Let the bright pictures and colorful motifs look harmonious, its better to put on a uniform pastel background.
Napkins for decoupage should be divided into layers, you need only the top layer of paint. Cut the drawing and applying it on the pot, carefully cover it with glue, it should completely soak them.

Next smoothed, it follows that a pattern is not formed bubbles or wrinkles, distribute the adhesive from the middle to the edges. Once the drawing is completely dry, applied on top clearcoat.
Decoupage technique can be combined with more than anything, for example, glued to the surface of the artificial grass or moss, twigs or pieces of raffia strands, as a result, turns the pot in a rustic style.


/http%3A%2F%2Fstorage.canalblog.com%2F84%2F36%2F1421856%2F108881863_o.jpg)
/http%3A%2F%2Fstorage.canalblog.com%2F64%2F89%2F1421856%2F108442733_o.jpg)